This site uses cookies to provide you with a great user experience and to show you relevant ads. If you’re OK with that, just continue. To find out more, please review our privacy policy.
This short blog is a basic guide to matching the cylinder ports to the engine casings when tuning or fitting a new cylinder kit. This article uses a Piaggio Zip engine and a Stage6 Sport Pro MKII cylinder kit but applies equally to Minarelli/ Aerox etc. or any other 2-stroke scooter or moped engine.
Why do this?
Once you go above the level of tune of the basic cast iron sports cylinder kits, cylinder design starts to become much more important to the performance of the cylinder. Quality manufacturers will spend time designing smoothly curved and enlarged ports on their cylinders with precise directional mixture flow.
In contrast the standard Piaggio engine casings are coarsely cast with sharp obstructions and the channels (ports) do not match up particularly well even with the standard cylinder ports. Flowing gases do not like to change direction and these mismatches can cause turbulence which interferes with mixture flow and therefore performance. The more highly tuned your scooter is the more this matters and the more likely it is that the cylinder ports will significantly mismatch those of the engine block (casings). On some cylinders the porting is so enlarged that it's necessary to build up the outside material of the engine block before porting otherwise there would be no material left after the block 'ports' have been enlarged enough to match the enlarged cylinder ports.
Does it make much of a difference?
Not until you get to the very top end level of tuning. You simply aren't going to notice any difference on a cast iron sports 70cc kit, nor will the ports be significantly different enough to mismatch badly.
On the Stage6 MKII cylinder kit used in the blog we can see the before and after difference on a dyno fixed gear run but it is minimal and it certainly wouldn't be worth taking the engine apart to do if it wasn't already done, but if you are in the process of rebuilding the engine then it's good practise. The higher revving the moped engine the more the difference you will see, but really we are only talking about it being critical on very high revving high-end race scooter engines.
There are also points to be careful of. Whilst it makes sense that smoothing out all the rough edges within the block may help with flow and reduced turbulence there is only so much you can do without removing too much material. The problem with removing too much material is that this increases the volume within the crankcases which in turn reduces the primary compression. On a 2-stroke, as the piston travels downwards it compresses the air/fuel mixture beneath it which has already been sucked in. This mixture is compressed against the reed valves until the piston travels down the bore far enough to uncover the cylinder inlet ports at which point it then rushes into the combustion area. The smaller the volume in the crankcase the higher this compression ratio - this is partly why you bought a full-circle crank so as it would take up more space within the crankcases!
This isn't entirely the whole story but it should be bourne in mind.
In reality to flow things perfectly you need to both build up areas of the crankcases (either by aluminium welding or sometimes epoxy) to add material in combination with removing material. But this is high end stuff and simply not necessary at this level of tuning.
Ok, let's get on with it...
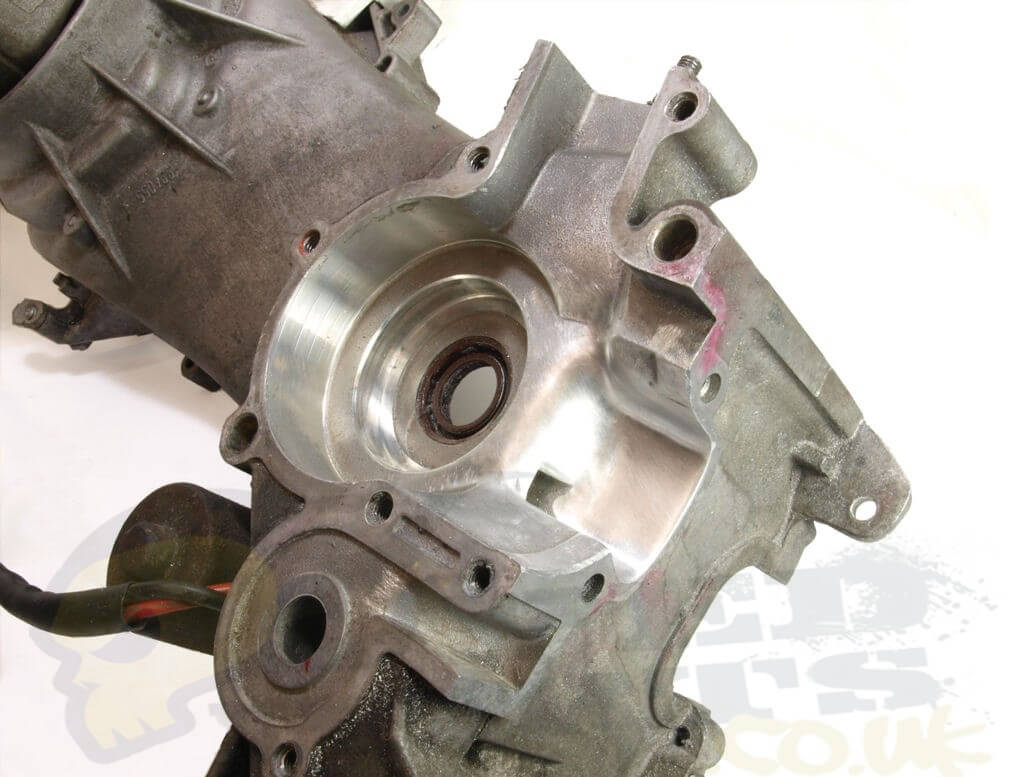
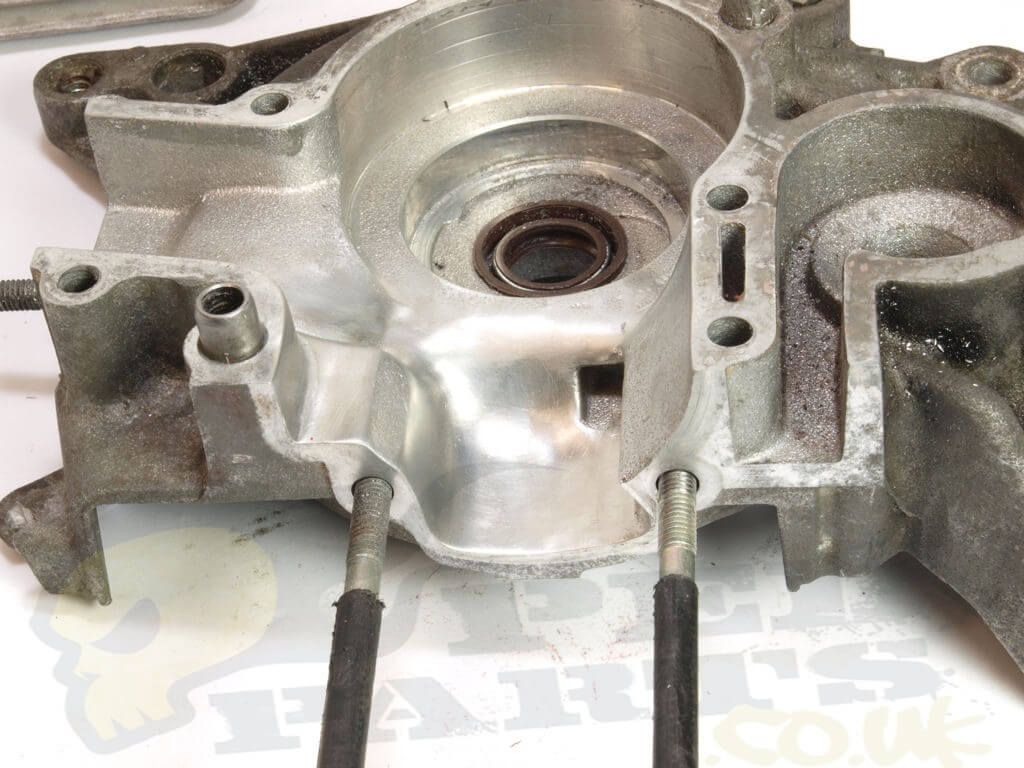
Ok, first of all fit the cylinder studs to the Piaggio crankcases if they aren't already and fit the cylinder to see how things line up. If the cylinder is loose on the studs you can wrap a little duct tape around them to centralise them snugly within the cylinder.
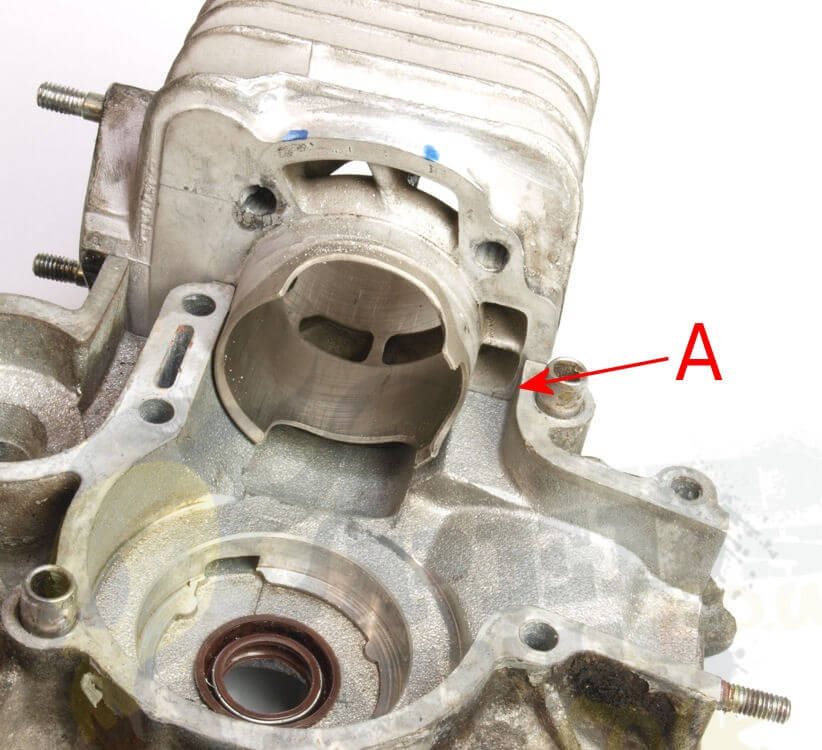
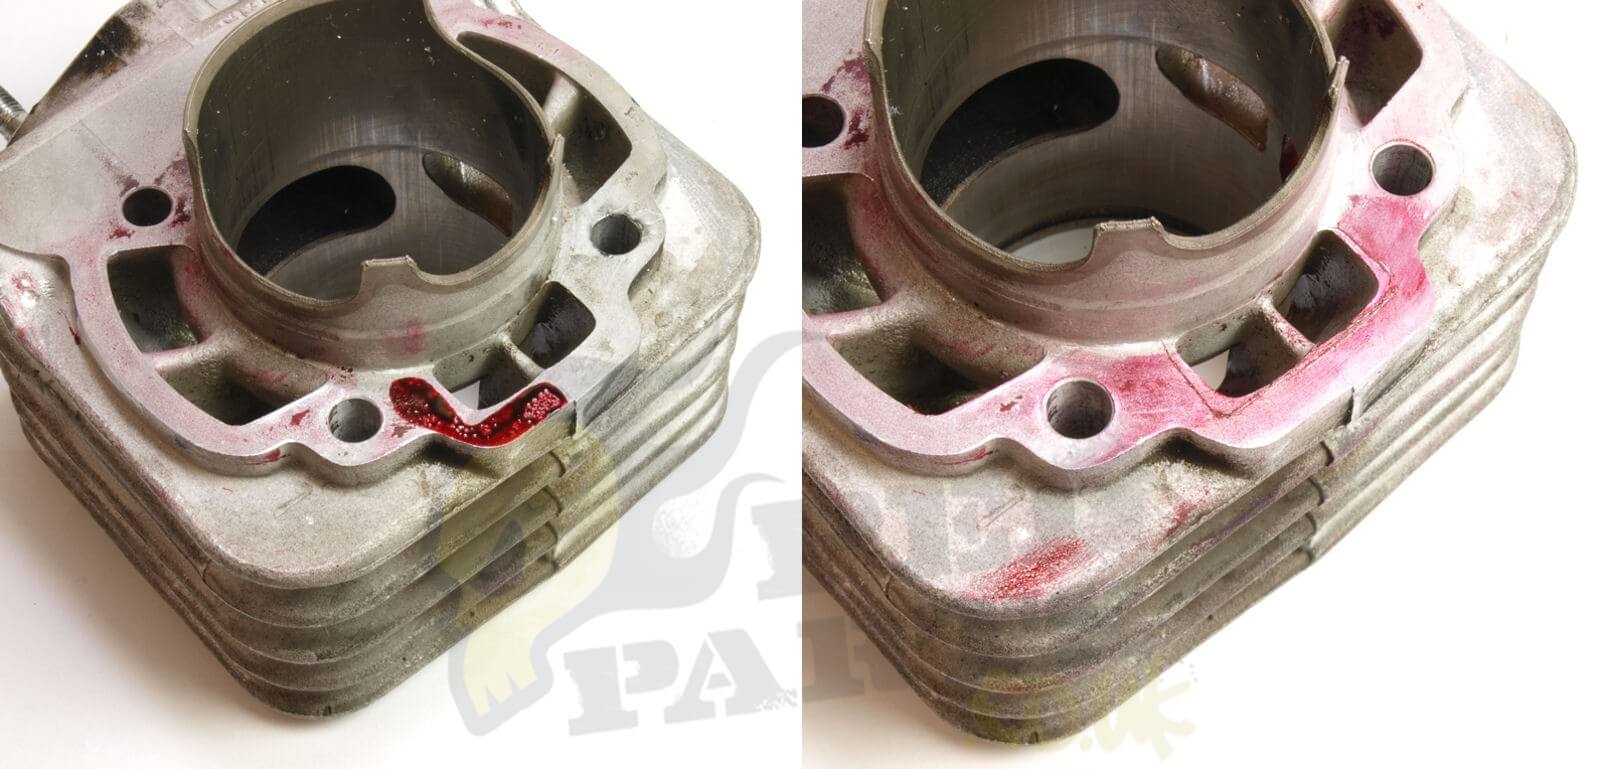
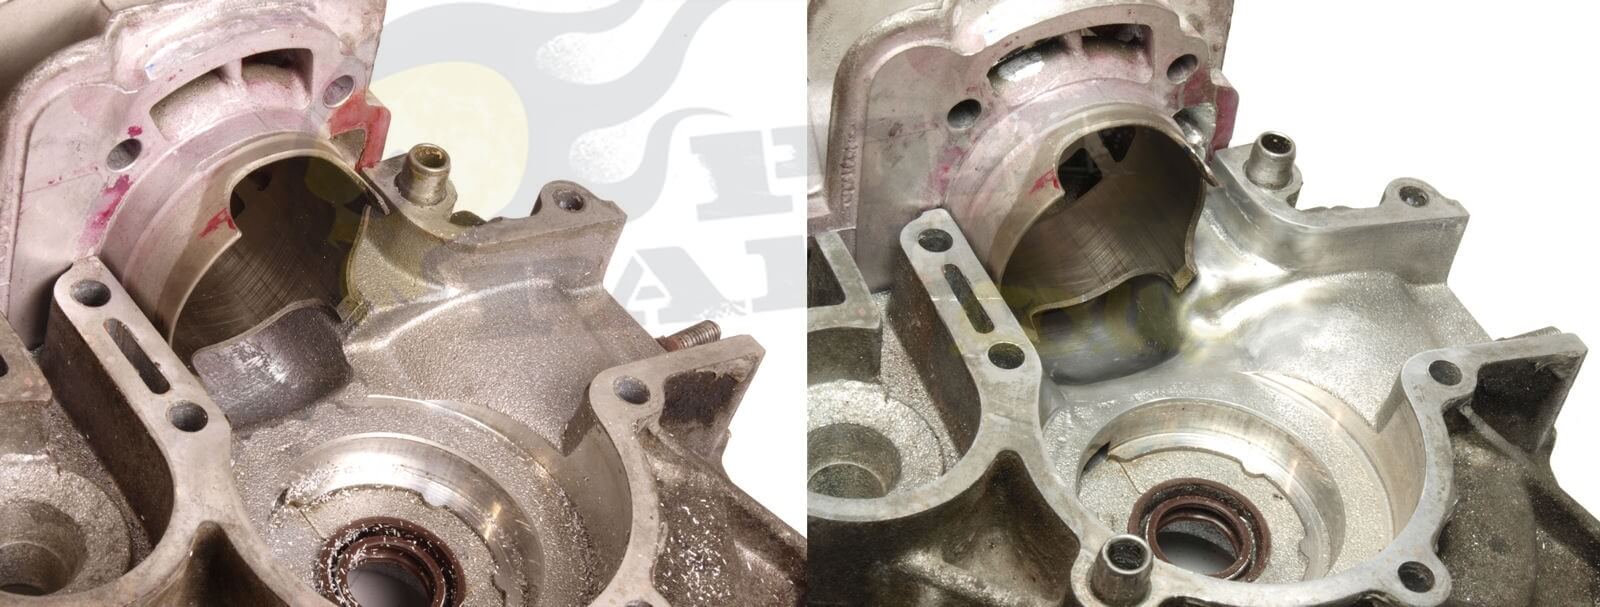
If you look at point 'A' in the picture above, these are the sorts of mismatches which we need to smooth out.
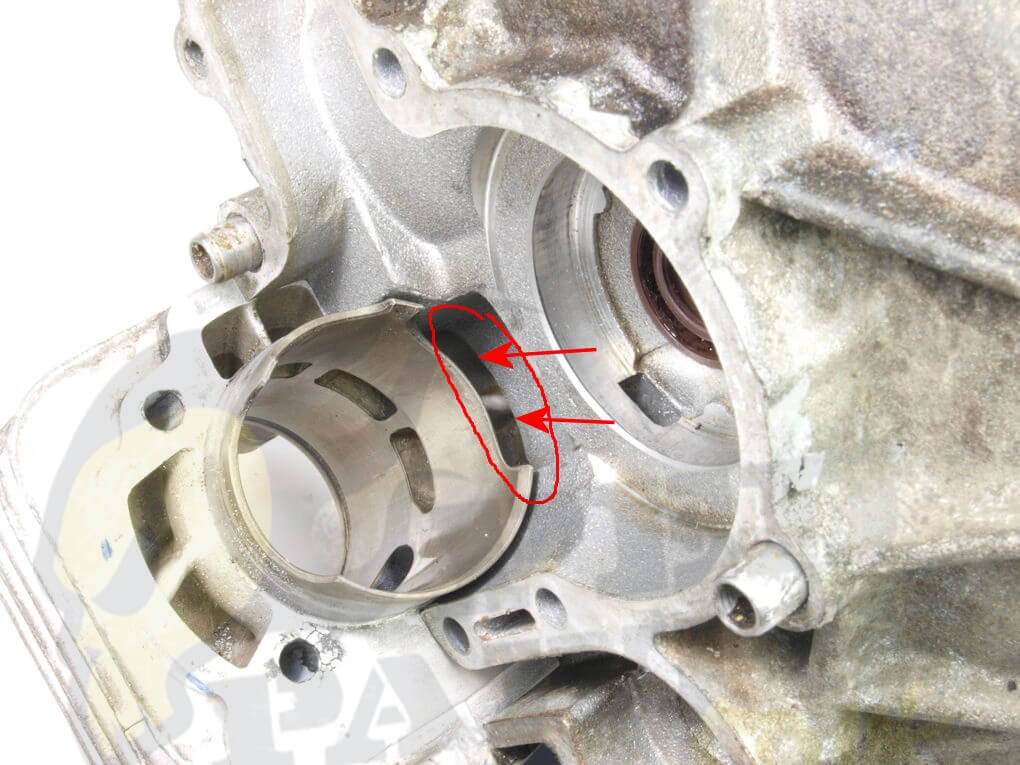
Same again in the above picture, although it's hard to see on the pic the transfer ports at the arrow points are quite badly matched.
Next we need to mark the area we want to grind away. You can do this anyway you like or you can use our method...
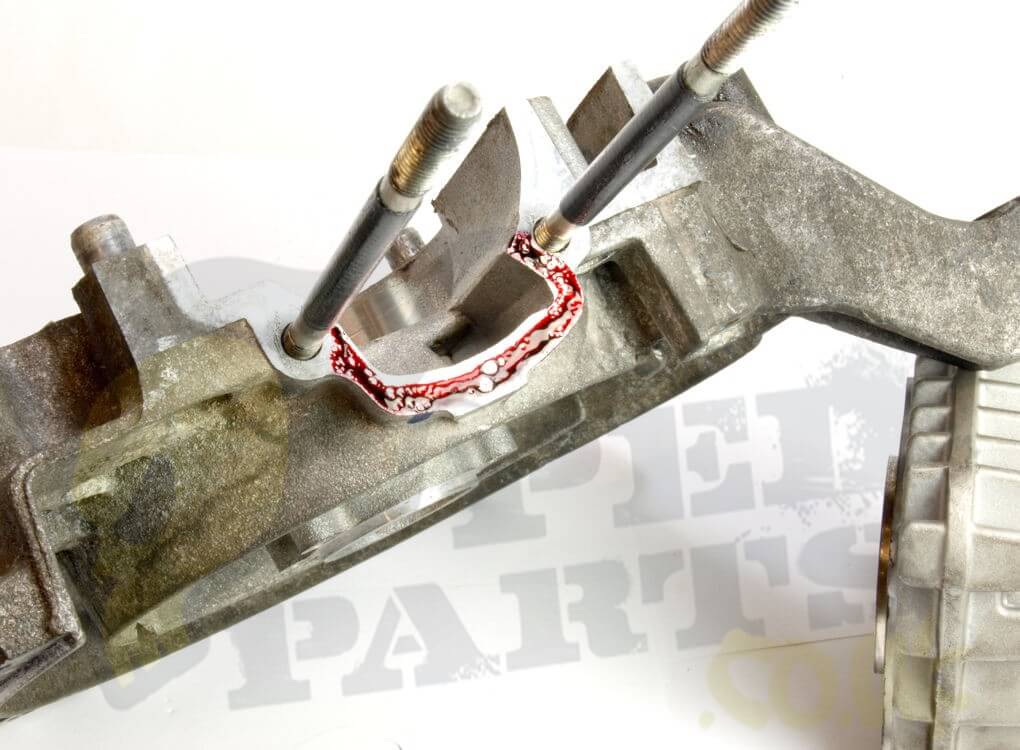
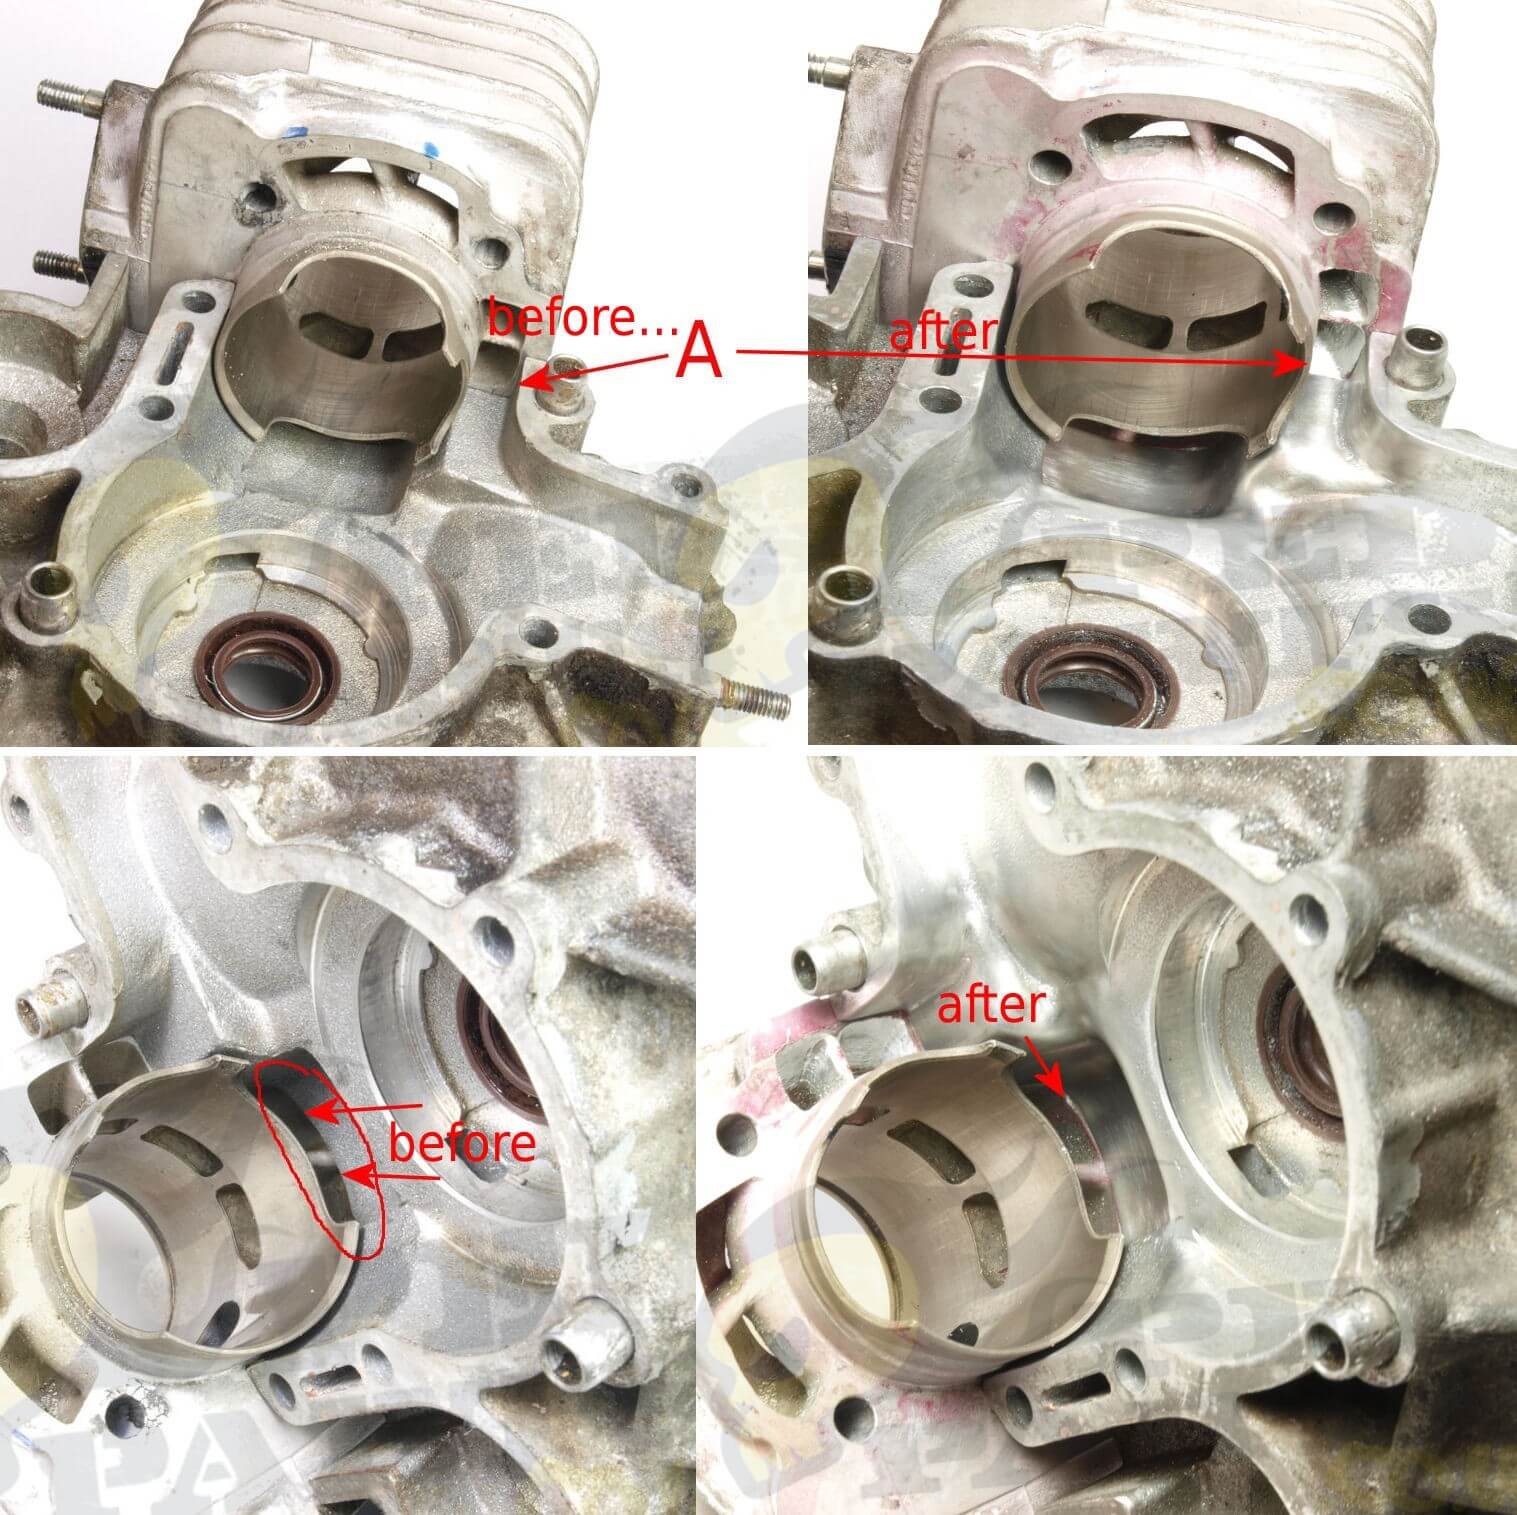
All we're going to do is pull the end off an old biro pen and dab some ink onto the cylinder as in the picture below.
If you then refit the cylinder it will mark the casing where the material needs to be removed as in the picture below...
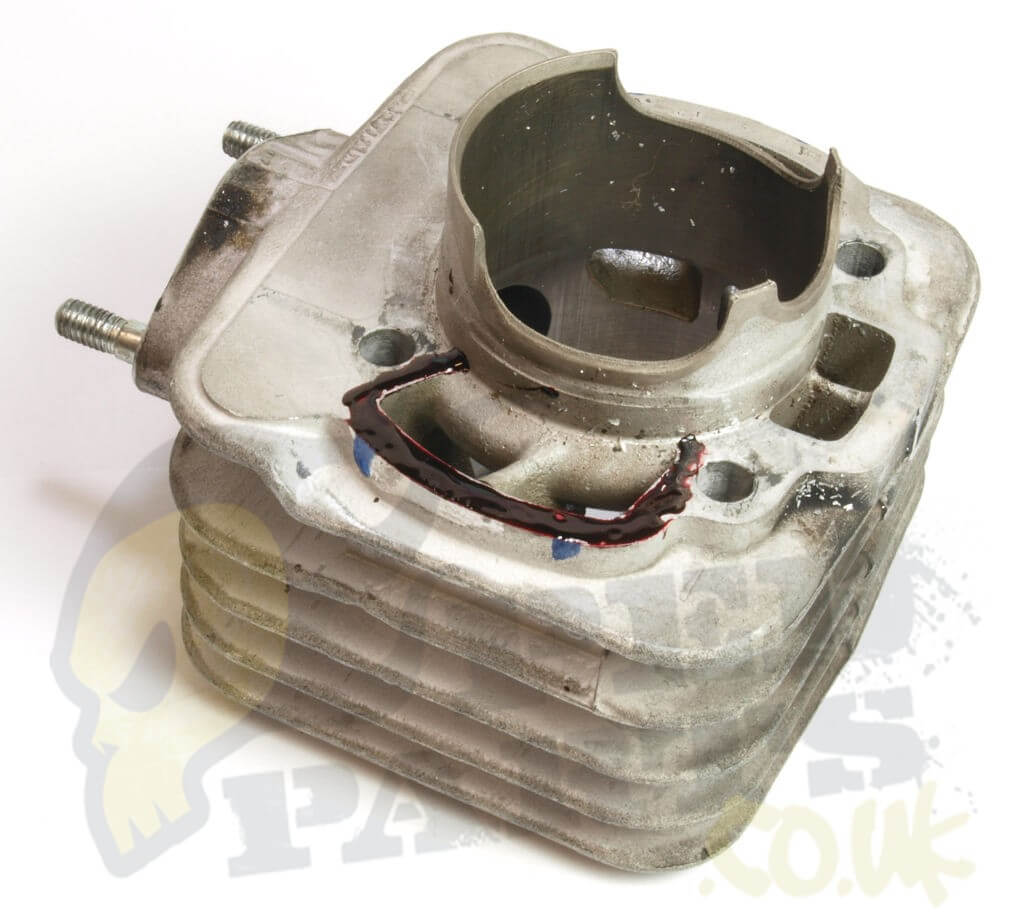
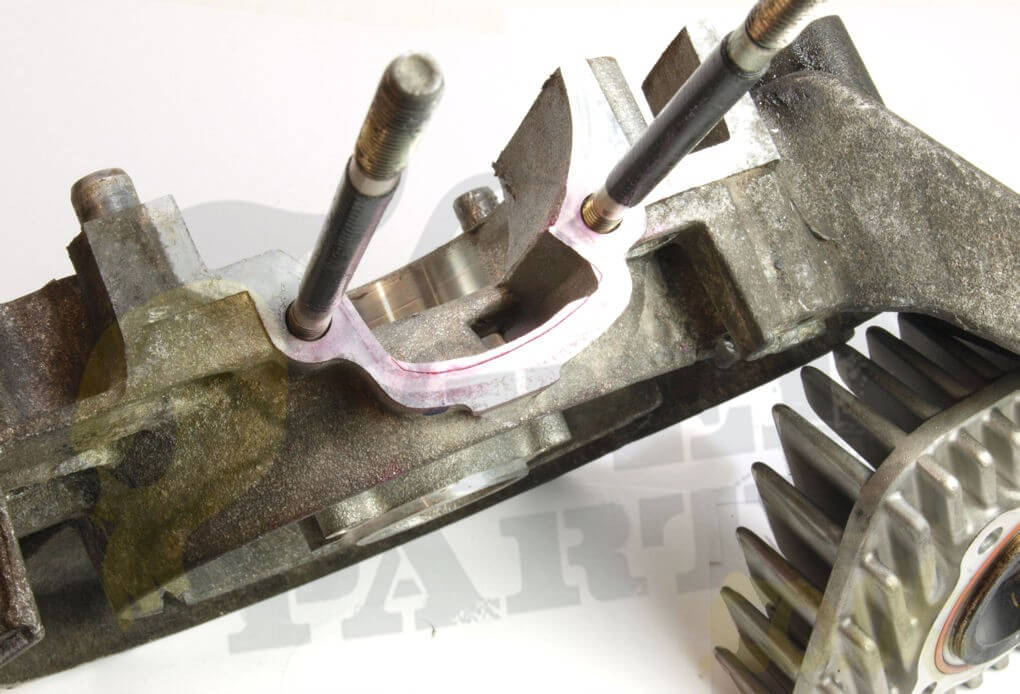
For clarity you can then mark the material to be cut away with a sharp knife. If you then rub the ink off with your finger it will leave a clear mark which can't be rubbed off accidentally as in the picture below...
Now we have a clear line of how much material to grind !
Do the same again for any other ports... in the picture below it was necessary to put the ink on the crankcase instead of the cylinder...
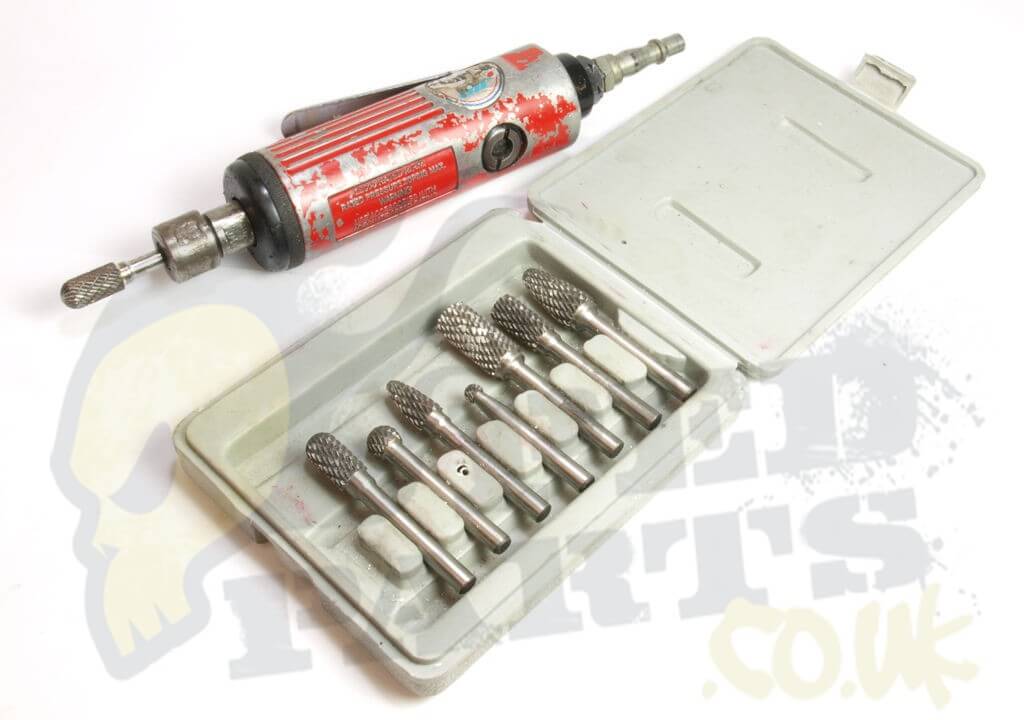
Next we need to actually grind out the excess material. For this you can use anything you like. Our tool of choice is an air grinder with carbide burr bits. Because aluminium is so soft you need something fairly aggressive and coarse to 'grind' it otherwise it will just clog up up any finer abrasive tools. A basic coarse file is
Take the opportunity to smooth out anything 'sharp' or 'rough' as in the picture below, just use your common sense. Don't worry too much but be careful not to go overboard. As discussed earlier there isn't that much benefit to this unless you're going to start building up areas also and the cylinder is *very* high end.
Reassemble and check that all your ports match now!
Don't forget to check the base gasket! Once you've checked your squish and decided which gasket(s) you're going to be using temporarily fit the gasket to the engine as in the picture below and trim off any overlapping bits which could otherwise obstruct our airflow.
Quick tip, if you are using only a metal gasket for the base gasket you *must* use a very thin layer of sealant, metal base gaskets as fitted to moped engines do not seal well on their own and often cause the engine to fail the leakdown test after assembly.
Should I polish everything mirror smooth?
There's no need, in reality a surface has to be very rough indeed before it impacts on gas flow characteristics. There are some advantages to roughness, a rough surface has a far higher surface area than a mirror-finish surface and therefore any fuel existing as liquid within the crankcases has the opportunity to more readly evaporate where the surfaces are rougher (fuel only burns when it is atomised)
In reality it really doesn't matter too much.
Now put it all back together and feel smug inside whilst you're riding it around :)